Intro
Recently, my 2012 Opel Astra H started suffering from a strange problem: the battery kept draining whenever the temperature dropped. The symptoms were equally odd — dashboard warning lights would behave erratically, and I couldn’t switch between headlight modes at all.
I checked the usual suspects: the battery, fuses, the CIM module, and the wiring itself. However, after a deeper look at the OBD-II error logs, one component kept showing up as the likely culprit: the UEC (Underhood Electrical Center).
Replacement UEC units, together with the fuse box, are fairly cheap and easy to find on popular auction sites. The catch is that a used module needs to be programmed using two PIN/Security Codes — one for your car, and one for the donor vehicle. In theory, this code lives inside the vehicle’s Car Pass or service booklet. In practice, scrapyard sellers almost never have it, and the module arrives “virgin but locked.”
Luckily, this isn’t a dead end. The PIN is stored in the module’s EEPROM. In my case, the board used an ST M95080 chip. To read data from this EEPROM using a PC, you can use tools like a CH341A programmer — widely available online or easy to assemble yourself using public schematics.
While browsing forums such as Digital Kaos and MHH Auto, I found countless threads from people struggling with the exact same issue. And although EEPROM reading is well-documented in many YouTube tutorials, extracting the PIN from the binary dump is largely tribal knowledge.
This post aims to shed some light on the process and help you recover the UEC PIN for your own Opel.
Safety Notice
Working with automotive electronics involves the risk of damaging the module or the vehicle if something goes wrong. Always make sure you understand each step before proceeding, especially when dealing with power, wiring, or programming tools.
Reading or writing to an EEPROM should be done only with the module disconnected from the car. Avoid applying unnecessary voltage, double-check all connections, and verify that your programmer and clips are oriented correctly.
You perform all actions described in this guide at your own responsibility. If you are unsure about any part of the process, consider asking for help or consulting a professional technician.
About Security and Theft Concerns
The PIN extracted from the UEC does not allow anyone to steal or start the vehicle. It is not an immobilizer code and does not grant access to the engine ECU, key programming, or remote unlocking systems. Its only purpose is to allow module pairing and configuration when replacing a used UEC with another unit.
Recovering this PIN is relevant solely for legitimate repairs, retrofits, and module replacement procedures. It provides no functionality that could bypass the vehicle’s anti-theft systems.
Programmer
For this project I decided to use a CH341A programmer. My choice was mainly driven by its very low price and excellent availability.
If you prefer, you can also build one yourself based on publicly available schematics, for example:
I should note that I didn’t build my programmer manually, so I can’t guarantee the correctness of the schematics linked above. If you’re buying a ready-made unit, it’s always worth checking real user reviews instead of relying on a single listing. For that reason, I’m intentionally not linking to any specific offer.
Below is an example of a typical CH341A bundle:

The kit usually includes an SOIC-8 clip, which makes connecting to the EEPROM significantly easier. Thanks to this, you don’t need to desolder the chip from the board — you simply attach the clip directly to the EEPROM legs. Some users have reported occasional connection issues when using the clip, but in most cases it works fine.
Software
To work with the CH341A you need software that can communicate with the programmer over USB. Depending on the operating system, the available toolset varies quite a bit. I initially attempted to connect to the programmer on Windows 11.
My first choice was the open-source application AsProgrammer. It offers a wide range of useful features and supports many different devices. Unfortunately, I wasn’t able to establish a connection with the programmer. This may have been caused by missing or incompatible drivers.
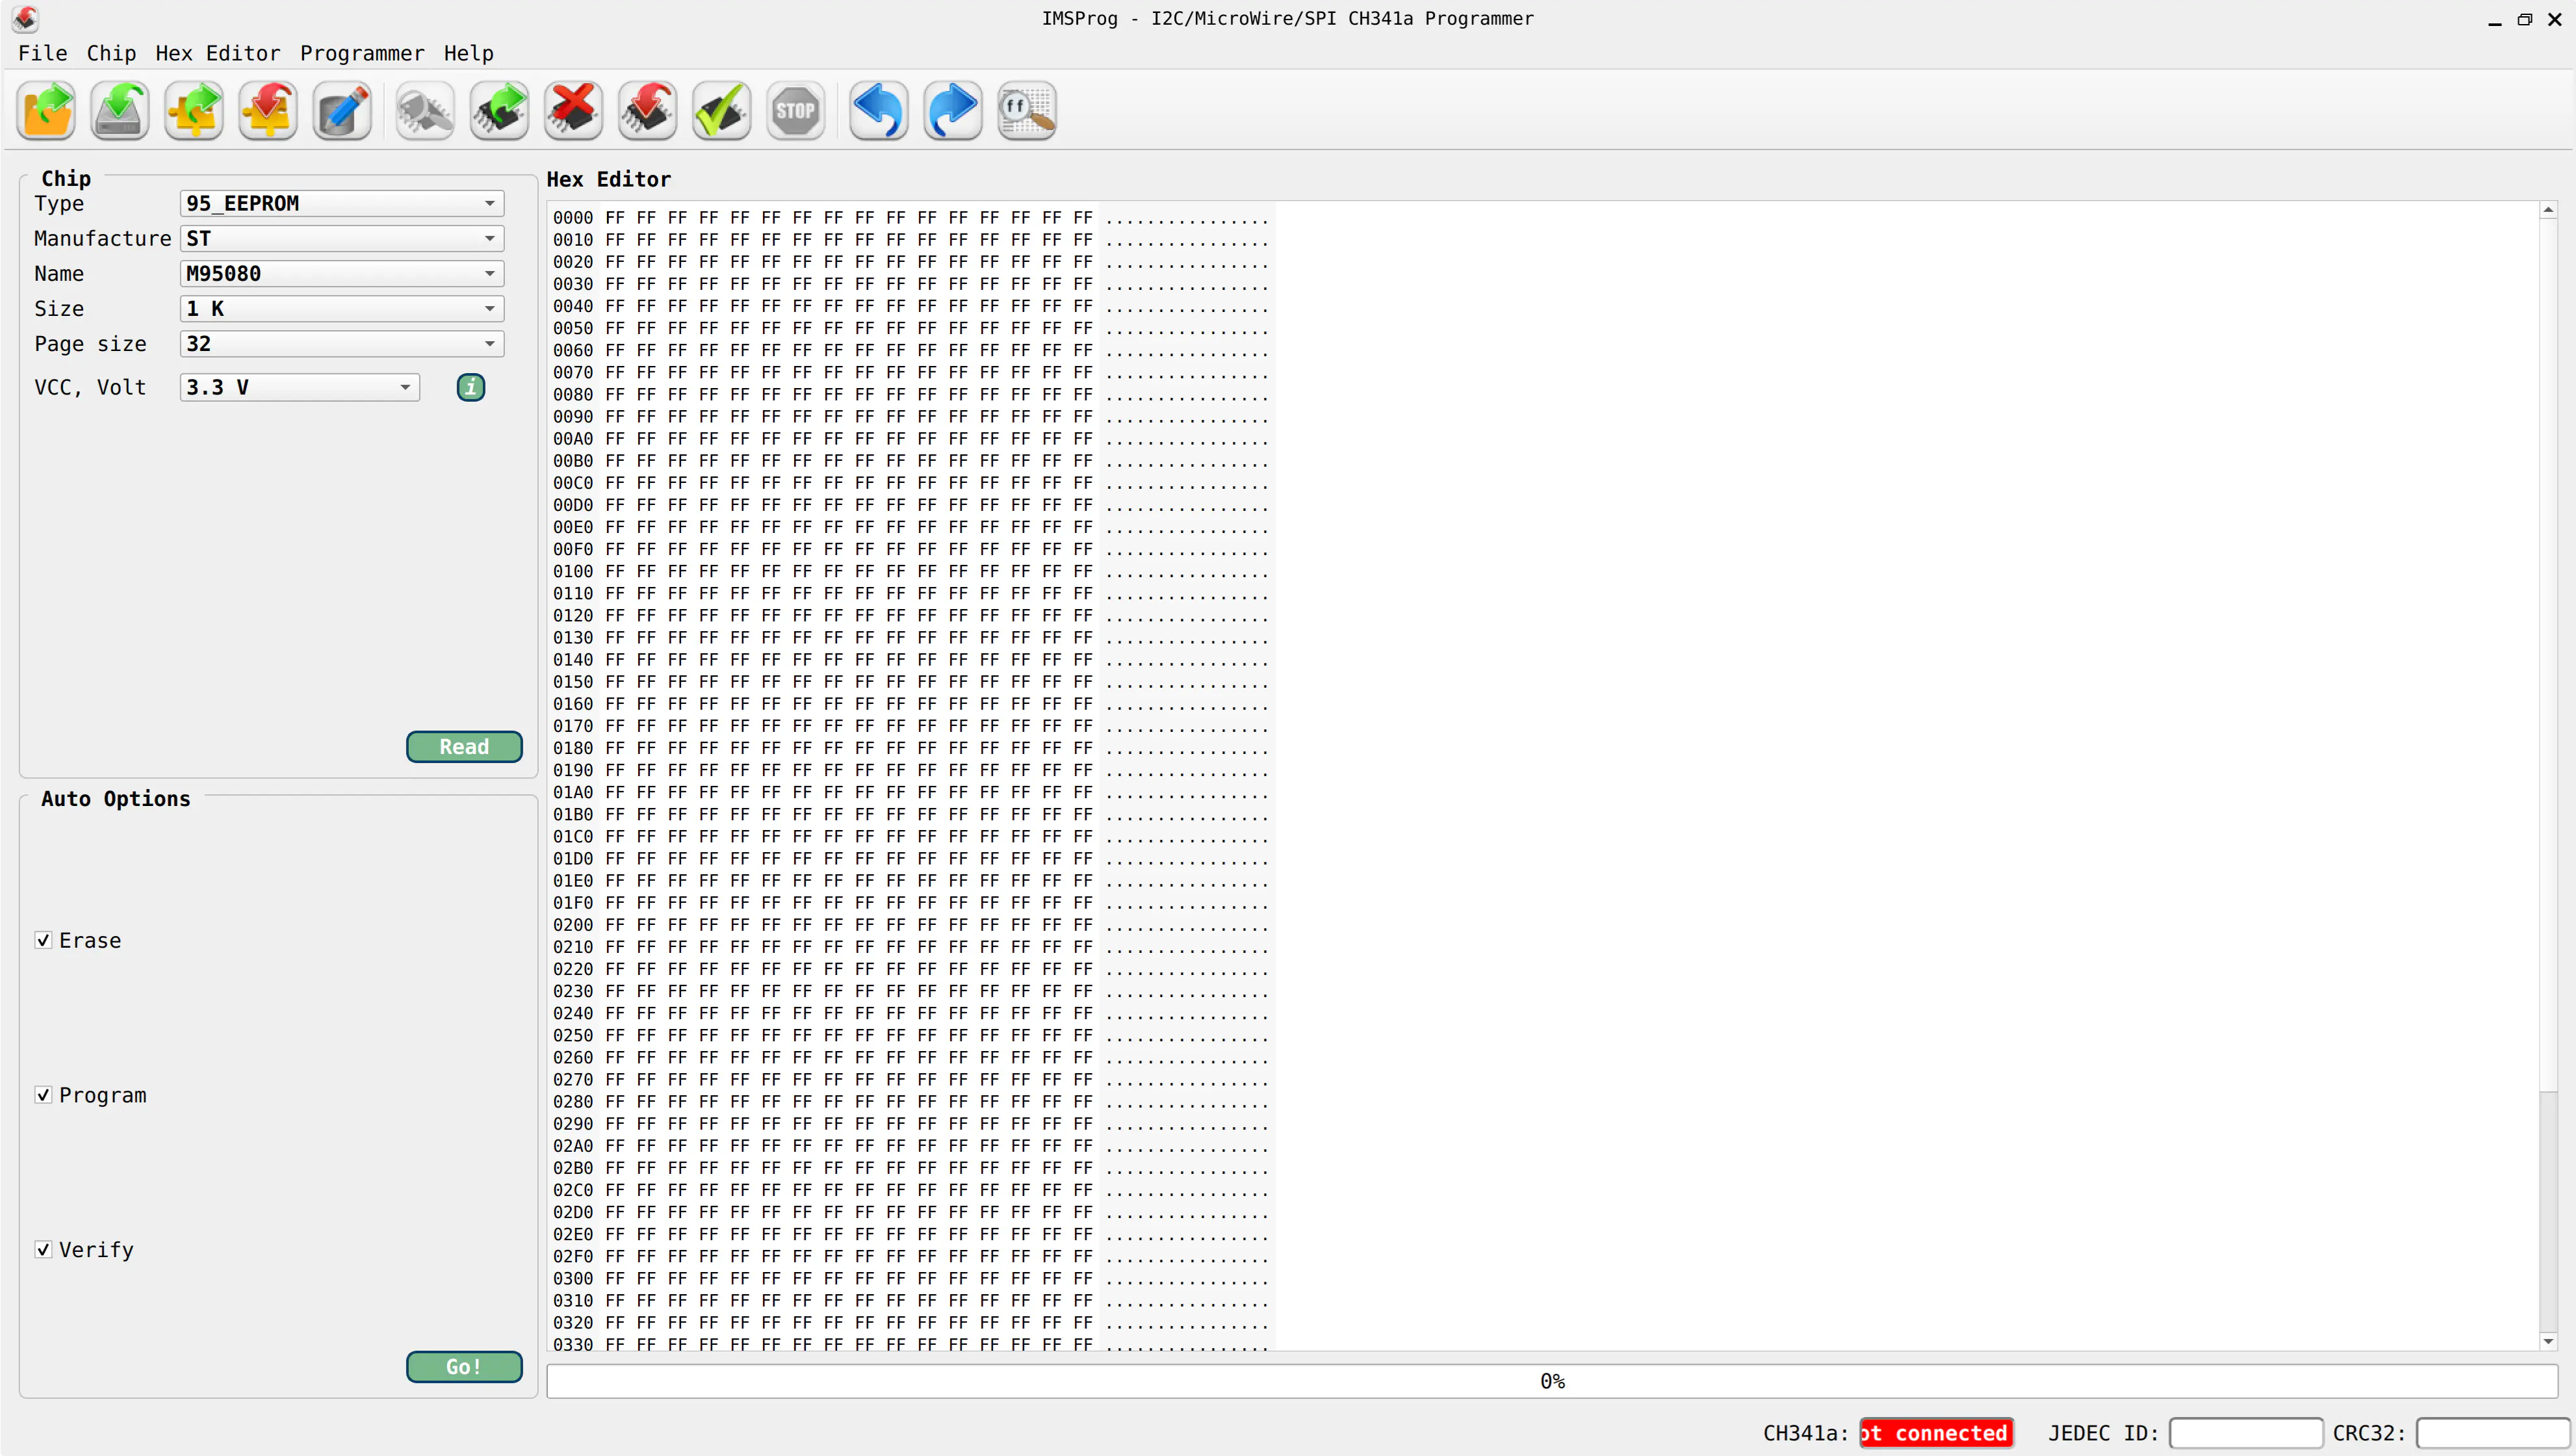
My second attempt was on Ubuntu. I did not expect to find a graphical application for this purpose. Based on experience, I assumed I would end up using some CLI utility and digging through console logs to extract anything meaningful. However, I found a promising project called IMSProg.
The installation instructions in the project’s README contain all commands needed to install the required packages. From there, you simply build the application and driver using CMake and make. I encountered no issues during the process. The graphical interface is much simpler than the one provided by AsProgrammer, which is great news for beginners like me.
Connection
Before anything else, the UEC module should be disconnected and removed from the vehicle. Always disconnect the battery before working with automotive electronics to avoid accidental damage. The module itself is seated in a connector and does not require excessive force to remove. In my Astra H, the UEC is integrated with the fuse box located to the right of the battery.
The next step is to locate the EEPROM on the module. Its placement may vary depending on the exact revision of the board, so it’s worth checking online resources for a schematic or photo of the UEC version used in your car.
I found a helpful video demonstrating how to connect a programmer to an EEPROM. The video refers to a PC motherboard rather than a UEC module, but the wiring principle is essentially identical. However, there is one important caveat: in the video, the author attaches the SOIC-8 clip after connecting the programmer to the computer. For safety, you should do this in the opposite order — attach the clip to the EEPROM first, and only then connect the programmer.
Once the setup is ready, it’s time to launch the application and read the dump. In IMSProg, all I had to do was select the correct EEPROM model. The default configuration provided by the application turned out to be correct. If the software reports a connection error, double-check that the SOIC-8 clip is properly aligned and firmly attached to the chip.
After successfully reading the memory contents, save the dump to your local disk. You’ll use this file in the next step to extract the PIN.
PIN Extraction
This is by far the most challenging part of the entire process. The procedure for extracting the PIN is not officially documented anywhere online. However, while browsing various automotive forums, I found many threads where users asked others to “find the PIN” from an attached EEPROM dump. In most cases, someone was able to provide the correct code. That made me wonder where this knowledge originally came from.
Eventually, I found a thread describing the rough algorithm.
It turns out that you need to take four consecutive bytes from a specific offset in the dump and apply a bitwise XOR
using the ASCII values of the characters BECS (0x42, 0x45, 0x43, 0x53).
After that, you remove all occurrences of the digit 3 from the hexadecimal result.
The remaining digits, read left to right, form the final PIN.
The tricky part is locating the correct offset. Based on the information shared across forum posts,
the offset seems to vary depending on the EEPROM type and possibly other module parameters.
In addition, the PIN typically appears twice within the dump.
In my case, the offsets were 0x0067 and 0x006C.
Once I put all of these clues together, I wrote a small Python script that processes the EEPROM dump and extracts the PIN automatically. I tested it on several dumps shared by forum users and compared the results with the codes they provided. In most cases, the extracted PIN was correct.
I published the source code as a GitHub Gist, and I encourage you to use or modify it as needed:
| |
How an LLM Handled the Task
Out of pure curiosity, I also asked a large language model (LLM) to help me locate the PIN extraction algorithm. As it turns out, even state-of-the-art AI struggled with this one.
Most responses were confident, detailed… and completely wrong. Some suggested that the PIN is stored as plain ASCII, others that it’s encoded with CRC checksums, and several LLMs insisted that the UEC requires no PIN at all.